Google My Business

How to Do Local SEO for Google My Business

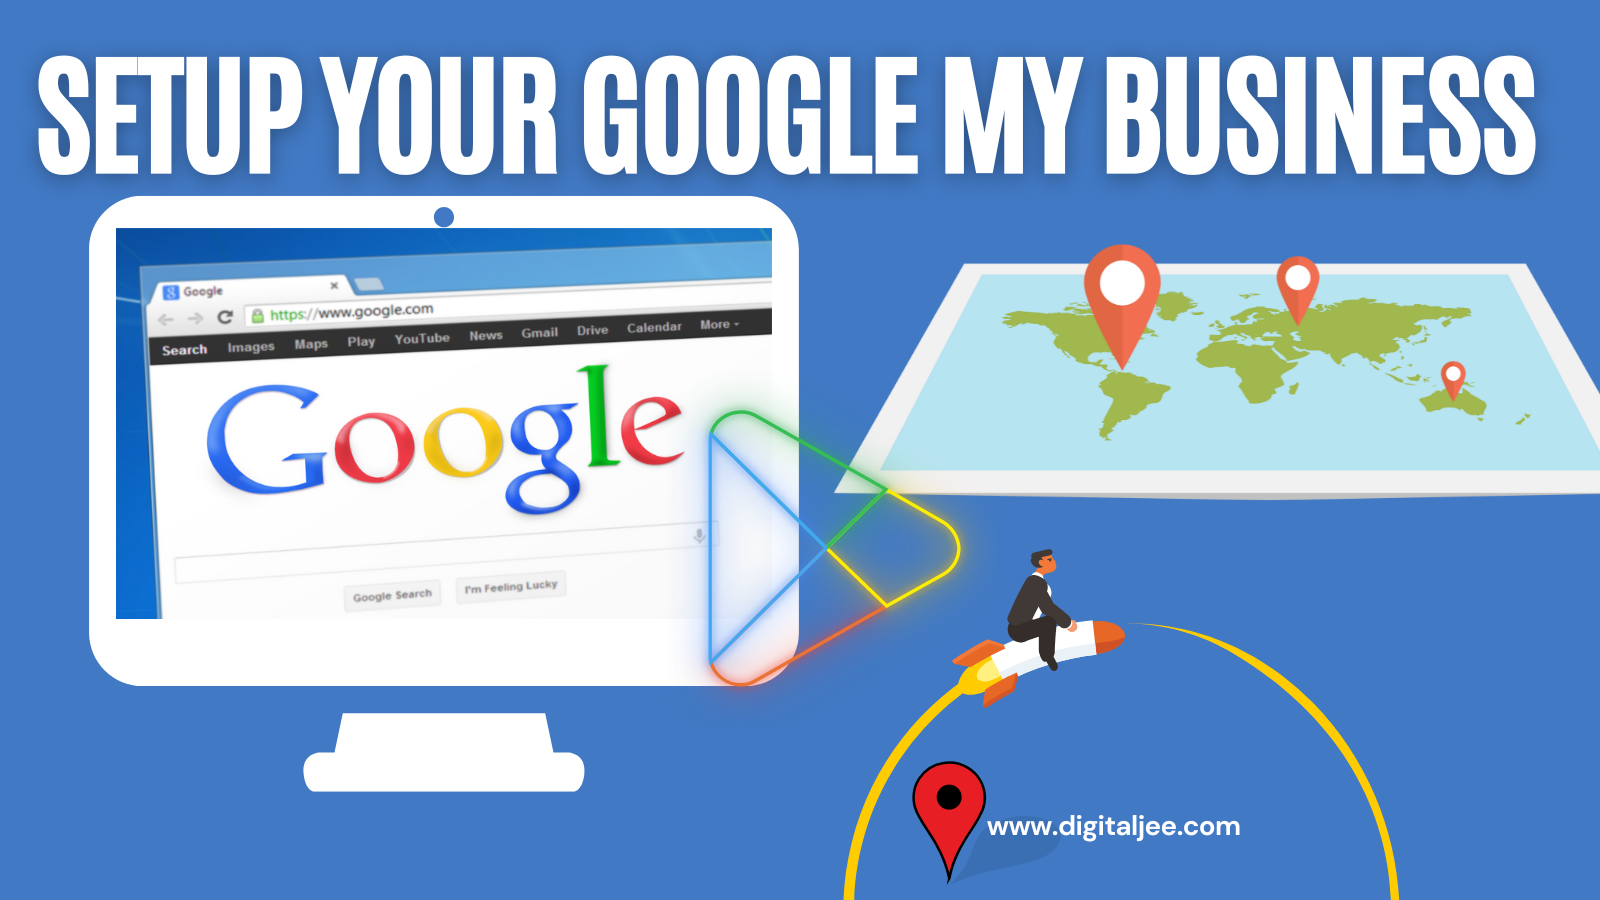
In today’s world, local SEO is more important than ever before for small and medium-sized businesses. It’s essential to optimize your online presence to get found by potential customers who are searching for the products or services you offer in your local area. Google My Business (GMB) is a powerful tool that can help businesses improve their online visibility and attract more local customers. In this article, we will discuss how to do local SEO for Google My Business and understand Google My Business. 

Related Article For You: Which Business Is Likely to Benefit from Local SEO Practices?  Must Read.

What Is Google My Business?

Google My Business Cafe

Google My Business (GMB) is a free tool provided by Google that allows businesses to manage their online presence on Google, including search results and Google Maps. With GMB, businesses can create and manage their online listings, update their business information, respond to reviews, and post updates to their customers. 

GMB is an essential tool for businesses of all sizes, but it’s particularly important for local businesses that rely on local customers. By using GMB, businesses can improve their online visibility, attract more customers, and increase their revenue. 

Why Is Local SEO Important for Google My Business?

Local SEO is the process of optimizing a website and online presence to rank higher in local search results. With local SEO, businesses can attract more local customers, increase their visibility in their local area, and improve their revenue. 

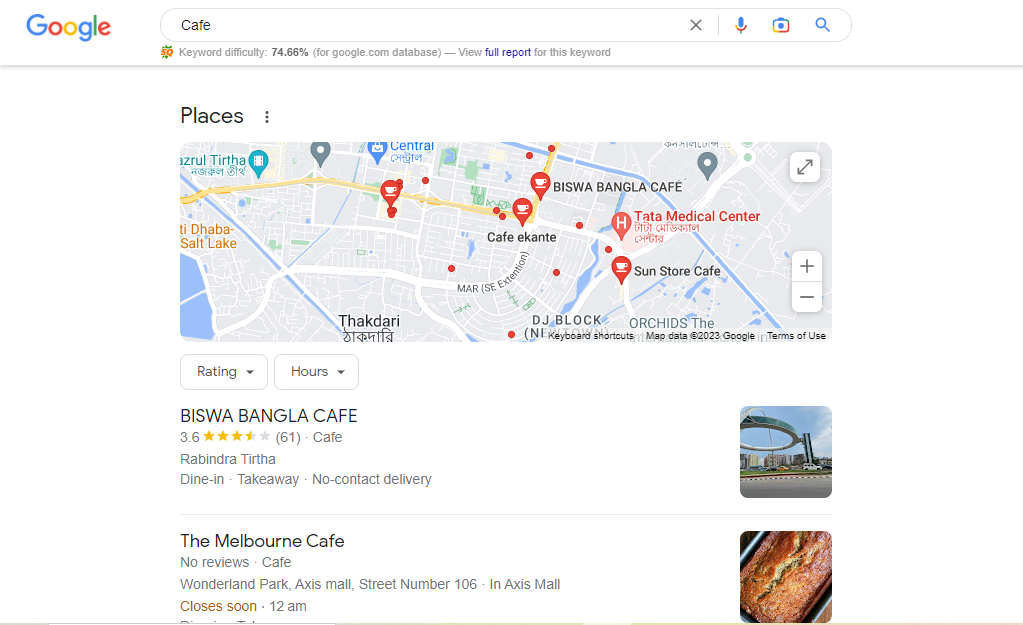
For businesses using Google My Business, local SEO is critical for attracting more customers from their local area. When a customer searches for a product or service in their local area, Google will display the most relevant local results based on their location, search terms, and other factors. By optimizing their GMB listing for local search, businesses can improve their chances of appearing in these local search results and attract more local customers. 

How to Do Local SEO for Google My Business?

Here are the steps to follow to do local SEO for Google My Business: 

Claim Your GMB Listing 

The first step to optimizing your local SEO is to claim and verify your GMB listing. To do this, you need to create a GMB account and add your business information, including your business name, address, phone number, website, and business category. Once you’ve done this, Google will send you a postcard with a verification code to verify your business address. After verifying your listing, you can start optimizing it for local SEO. 

Optimize Your Business Information

To rank higher in local search results, it’s crucial to optimize your business information on your GMB listing. This includes optimizing your business name, description, and categories to reflect the products or services you offer. You should also add photos and videos to your listing to showcase your business to potential customers. 

Get More Reviews

Reviews are a critical factor in local SEO rankings, so it’s essential to encourage your customers to leave reviews on your GMB listing. You can do this by providing exceptional customer service, asking your customers to leave a review, and responding to all reviews, both positive and negative. 

Use Local Keywords

To rank higher in local search results, it’s essential to use local keywords in your GMB listing and website content. Local keywords are keywords that include the name of your city or town, such as “plumber in New York City.” You should also include local keywords in your business description, services, and products. 

Create Local Content

Creating local content is another effective way to improve your local SEO rankings. You can create local content by writing blog posts or creating videos about your city or town, events, or local news. You can also create content that highlights the products or services you offer and how they can benefit the local community. 

Get Listed in Local Directories

Getting listed in local directories is an effective way to improve your local SEO rankings. You can find local directories by searching for your city or town and adding the word “directory” to the search. You should also list your business in industry-specific directories to increase your online visibility. 

Use Social Media

Social media can also enhance your local SEO rankings. You can use social media to share local content, engage with your followers, and promote your business. You should also include your GMB listing on your social media profiles and encourage your followers to leave reviews on your listing. 

Monitor Your GMB Listing

It’s essential to monitor your GMB listing regularly to ensure that all the information is accurate and up-to-date. You should also monitor your listing for new reviews and respond to them promptly, both positive and negative. 

Steps to Create Google My Business Account

Here’s a step-by-step guide on how to create a Google My Business account: 

Step-1: Go to the Google My Business website: https://www.google.com/business/ 

GMB_Step1
GMB_Step1

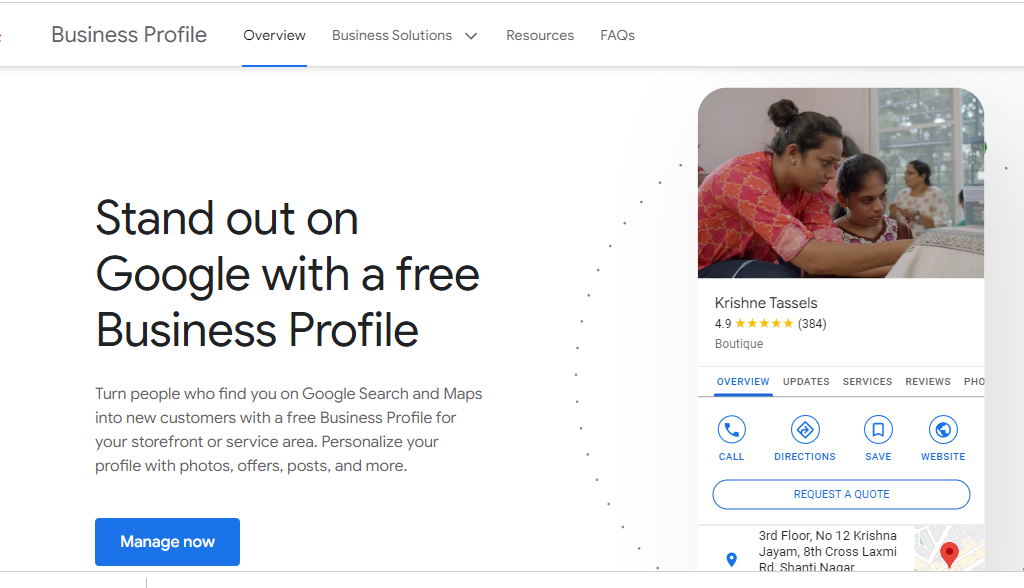
Step-2: Click on the “Manage now” button which will be on the top right corner of that page. 

Step-3: Sign in to your Google account, If not then create a new Google Account. 

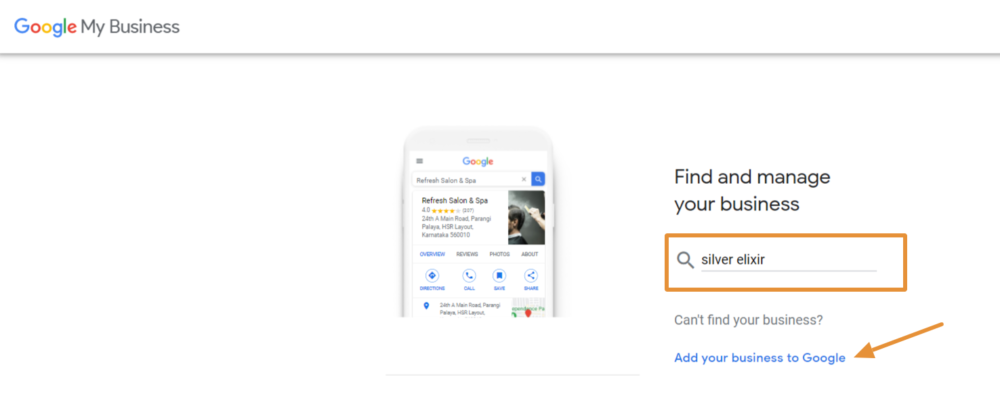
Step-4: Fill your business name in the “Business name” option. If your business is already listed on Google, you’ll see it in the drop-down menu as you type

GMB_step4
GMB_step4

Step-5: Enter your business address in the “Address” field. If you don’t have a physical storefront, you can select the “I deliver goods and services to my customers” option. 

Step-6: Choose your business category from the list provided. This will help Google understand what your business is all about and display your listing in relevant search results.  

Step-7: Add your business telephone number and website Uniform Resource Locator (URL) there. 

Step-8: Choose your preference for receiving updates and suggestions from Google. 

Step-9: Click on “Finish” to create your GMB listing. 

Congratulations! You have now created your very own Google My Business profile. 

Once you have created your Google My Business account, you can start optimizing your listing by adding photos, videos, and business information, responding to reviews, and posting updates to your customers. 

Conclusion

Optimizing your GMB listing for local SEO is essential for small and medium-sized businesses. By following these tips, you can improve your online visibility, attract more local customers, and grow your business. Remember to claim and verify your listing, optimize your business information, get more reviews, use local keywords, create local content, get listed in local directories, use social media, and monitor your GMB listing regularly. 

FAQs

1. Why is local SEO important for small and medium-sized businesses?   

Local SEO is essential for small and medium-sized businesses because it helps them to reach potential customers in their local area. By optimizing their online presence, businesses can improve their visibility in local search results, attract more local customers, and increase their revenue.  

2. How much time does it take to see results from local SEO?   

The time it takes to see results from local SEO varies depending on various factors, such as the competition in your industry, the level of optimization of your GMB listing, and the quality of your content. Normally, it can take several weeks or even months to give desired results from local SEO.  

3. Can I optimize my GMB listing for multiple locations?   

Yes, you can optimize your GMB listing for multiple locations by creating separate listings for each location or using a single listing with different pages for each location. However, it’s essential to ensure that each listing has accurate and up-to-date information for each location.  

4. How can I encourage my customers to leave reviews on my GMB listing?   

You can encourage your customers to leave reviews on your GMB listing by providing exceptional customer service, asking them to leave a review, and making it easy for them to leave a review by providing a direct link to your listing. You should also respond to all reviews, both positive and negative, to show your customers that you value their feedback.  

5. What should I do if I find inaccurate information on my GMB listing?   

If you find inaccurate information on your GMB listing, you should update it immediately to ensure that your customers have access to accurate and up-to-date information. You can do this by logging into your GMB account and editing your business information. You should also monitor your listing regularly to ensure that all the information is accurate and up-to-date. 

How to create XML Sitemap

How to create a sitemap in WordPress 2023(Most Easy Steps)

A sitemap is a file that provides search engines with a map of your website’s pages, posts, and other types of content. It helps search engines to better understand the structure and content of your website, which can lead to improved indexing and search engine rankings.

In this article, we will see an easier step-by-step process to create a sitemap for your website. And we will also learn how to link it to Google Search Console for better website optimization. But before going forward we will understand what is WordPress sitemap. We will understand the differences between an XML and HTML sitemap and how both of them help optimize a site.

What Is a WordPress Sitemap

In WordPress, a sitemap is typically generated automatically by a plugin or by WordPress itself. The sitemap file is usually located at yourwebsite.com/sitemap.xml and can be accessed by search engines like Google.

A WordPress sitemap contains information about each page and posts on your website, including the URL, the last time it was modified, and the priority of the page or post. This information can help search engines understand the importance and relevance of each page and post on your website.

Having a sitemap is important for SEO, as it helps to ensure that all of your website’s pages and posts are indexed by search engines. It also helps to ensure that your website is crawled regularly by search engines, which can lead to improved search engine rankings and increased traffic to your website.

Overall, a WordPress sitemap is an important tool for improving the SEO of your website. By ensuring that your website’s content is properly indexed and crawled by search engines, you can increase your website’s visibility and reach more potential customers online.

Differences between an HTML and an XML sitemap and how both of them help to improve site optimization.

Sitemaps are an important aspect of website optimization, and they come in different formats, including HTML and XML sitemaps. Both of these formats serve different purposes, and understanding their differences can help you optimize your website more effectively.

HTML Sitemaps

HTML sitemaps is a page on your website that lists all of the links to your website’s pages and posts. It is designed to help visitors navigate your website and find the content they are looking for. HTML sitemaps are generally organized into some categories and subcategories, making it easy for site visitors to find the content they need.

From an SEO perspective, HTML sitemaps are helpful because they make it easier for search engines to crawl and index your website’s content. They provide search engines with a clear and organized map of your website’s pages and posts, which can help to improve your website’s search engine rankings.

XML Sitemaps

XML sitemaps are different from HTML sitemaps in that they are designed specifically for search engines. They are essentially a file that lists all of the pages and posts on your website, along with important metadata such as the date the page was last updated and the priority of the page.

XML sitemaps are useful because they make it easier for search engines to crawl and index your website’s content. They provide search engines with a clear and concise map of your website’s pages and posts, which can help to improve your website’s search engine rankings. Additionally, XML sitemaps can help search engines discover new pages on your website more quickly, which can help to improve your website’s visibility in search results.

Key Differences Between HTML and XML Sitemaps

The main differences between HTML and XML sitemaps are:

Purpose: HTML sitemaps are designed to help visitors navigate your website, while XML sitemaps are designed to help search engines crawl and index your website’s content.

Format: HTML sitemaps are in the form of an HTML page, while XML sitemaps are in the form of an XML file.

Metadata: XML sitemaps include important metadata such as the date the page was last updated and the priority of the page, while HTML sitemaps do not include this information.

Both HTML and XML sitemaps are important for website optimization, but they serve different purposes. HTML sitemaps are designed to help visitors navigate your website, while XML sitemaps are designed to help search engines crawl and index your website’s content. By using both types of sitemaps, you can improve your website’s visibility in search results and provide a better user experience for your visitors.

Steps to create XML Sitemaps through Yoast Plugins

Creating an XML sitemap for your WordPress website can seem like a daunting task, but it’s actually quite simple with the help of a plugin like Yoast. In this article, we’ll walk you through the steps to create XML sitemaps using Yoast SEO plugin.

Step 1: Install and then activate Yoast SEO Plugin

Yoast Plugin
Yoast Plugin

If you haven’t already, you’ll need to install and activate the Yoast SEO plugin. This can be done by going to your WordPress dashboard, clicking on “Plugins,” and then “Add New.” From there, you can search for “Yoast SEO,” install and activate the plugin.

Step 2: Find Setting XML Sitemaps

Once you’ve activated the Yoast SEO plugin, you’ll need to enable XML sitemaps. To do this, go to the Yoast SEO settings page by clicking on “Yoast SEO” in the WordPress dashboard, and then “General.” From there, click on the “Site Features” tab, and scroll down on the “XML sitemaps” option.

Step 4: Scroll Down and Enable

Yoast General
Yoast General

In the newly updated Yoast SEO plugin you will see many options. To find the XML sitemap, just scroll a bit down. Under APIs, you can see sitemaps link and then enable XML sitemaps

Yoast sitemap
Yoast sitemap

Step 5: Customize Your XML Sitemap

XML Sitemap

After enabling XML sitemaps, Yoast SEO will automatically create a sitemap for your website. However, you can customize the sitemap by going to the “XML Sitemaps” tab under the “SEO” section of the WordPress dashboard. Here, you can choose which post types to include in the sitemap and adjust other settings as needed.

Step 4: Submit Your XML Sitemap to Search Engines

GSC_Sitemap
GSC_Sitemap

Once you’ve created your XML sitemap, it’s important to submit it to search engines like Google and Bing. This can be done by logging into your search engine’s webmaster tools, and then submit your sitemap URL. Yoast SEO also has a built-in feature that allows you to submit your sitemap directly to Google.

Simple Steps to add website’s Sitemap to Google Search Console

Google Search Console is a valuable tool for website owners who want to monitor their site’s performance in search results. One important aspect of optimizing your website for search engines is submitting a sitemap to Google Search Console. In this article, we’ll walk you through the steps to add your website’s sitemap to Google Search Console.

Step 1: Verify Your Website

Google-indexing-though-Search-Console

Before you can add your sitemap to Google Search Console, you’ll need to verify that you own the website. This can be done by following the verification steps provided by Google Search Console. You can verify your website by adding a code snippet to your website’s header or by uploading an HTML file to your website’s root directory.

Step 2: Access Your Google Search Console Account

GSC_Sitemap
GSC_Sitemaps

Once your website is verified, log in to your Google Search Console account. On the left menu table you will sitemap option, click on that to put your URL.

Step 3: Find Your Sitemap URL

Before you can submit your sitemap to Google Search Console, you’ll need to know the URL of your sitemap. This can be found by going to your website’s XML sitemap page and copying the URL. We already see the steps of creating a sitemap above.

Step 4: Submit Your Sitemap to Google Search Console

sitemap
sitemap

To submit your sitemap to Google Search Console click on the “Add/Test Sitemap” button, and then enter the URL of your sitemap. Click “Submit,” and Google will begin crawling your sitemap.

Step 5: Monitor Your Status

sitemaps_gotit
sitemaps_gotit

After submitting your sitemap, you can monitor its status in Google Search Console. This will allow you to see how many pages have been indexed. Further, you can also check any errors or warnings, and other useful information about your sitemaps.

Conclusion

Creating XML sitemaps using Yoast SEO is a quick and easy way to improve your website’s search engine optimization. By following the steps outlined above, you can create and submit it to search engines. Which can help you to improve your website’s visibility in search results.

Submitting your website’s sitemaps to Google Search Console is an important step in optimizing your website for search engines. By following the steps outlined above, you can easily add your sitemap to Google Search Console. And then you can monitor its status to ensure that your website is performing well in search results.

how to change permalink of a page in wordpress

How to change the permalink of a page/post in WordPress

If you’re running a WordPress website, it’s important to understand how to change the permalink of a page or post. Permalinks are the permanent URLs that are assigned to your pages and posts, and they play a key role in your website’s SEO.

Before going forward we will under what permalink and its importance for page SEO.

Permalinks are the permanent URLs assigned to your website’s pages, posts, and other types of content. They play a key role in your website’s SEO, as they provide a direct link to your content that can be indexed by search engines like Google.

In this article, we’ll take a closer look at what permalinks are, and why they are important for SEO.

Permalinks are the fixed or permanent URLs that are assigned to your website’s pages and posts. They typically include your domain name, followed by the slug, or the specific URL of the page or post. For example, the permalink for this article might look something like this: https://www.example.com/what-are-permalinks.

Permalinks are important because they provide a direct link to your content that can be easily shared and indexed by search engines. They also make it easy for visitors to bookmark and share your content, which can help to increase traffic and engagement on your website.

Permalinks play a key role in your website’s SEO for several reasons:

  1. User-friendly URLs
  2. Keyword optimization
  3. Link building

User-friendly URLs

By choosing a descriptive and user-friendly URL for your content, you make it easier for visitors to understand what your page or post is about. This can increase click-through rates and engagement, which can ultimately improve your website’s SEO.

Keyword optimization

Permalinks can also include your target keywords, which can help to improve your website’s visibility in search engine results pages (SERPs). By including relevant keywords in your permalinks, you signal to search engines that your content is relevant to certain search queries.

Permalinks can also help to improve your website’s link-building efforts. By creating descriptive and shareable URLs, you make it easier for others to link back to your content, which can improve your website’s authority and visibility in search results.

Overall, permalinks are an important aspect of your website’s SEO strategy. By creating descriptive, user-friendly URLs that include your target keywords, you can improve your website’s visibility and engagement, and ultimately drive more traffic and conversions.

In this article, we’ll take a closer look at how to change the permalink of a page in WordPress, step by step.

Step 1: Log in to your WordPress dashboard

To begin, log in to your WordPress dashboard and earlier you had to navigate to the page or post that you want to change the permalink for. But now

Step 2: Hover on Setting

Change Permalinks on Setting

Next, click on the “Permalink” button where you change the permalink. This will bring you to the Permalink setting. Where you will see multiple permalink options.

Step 3: Choose Any Option

On this page, you will see plain might be selected as the default option. Where you can see your pages or post name be like “https://yourwebsitename/p=123” Eg.: “https://digitalotl.com/?p=121“. So, now you can select any given options with your preference. Most people go for Post Name or Custome Structure. In Custome Structure you can give the desired name of your URL. But if you give any random name to your URL then it may affect your SEO factors.

Step 4: Choose Post Name

Change Permalinks 2
Change Permalinks 2

I generally prefer Post Name options. Because it will only displace your page/post name after your website name like “https://yourwebsitename/sample-post/” Eg.: “https://digitalotl.com/blog/“. It also follows the SEO key factor because it will be easier for readers to navigate with the correct name of pages and posts.

Step 5: Save changes

Once you’ve chosen your new option, click the “Save Changes” button to save your changes.

Now you can now see the change in the permalink automatically according to pages or post names. The new URL with the page/post name will be more SEO-friendly. WordPress will automatically generate a suggested permalink based on the page or post title. But if you like to edit whatever you like then go for the Custome Structure option. Keep in mind that the permalink should be short, descriptive, and include your target keywords.

And that’s it! By following these simple steps, you can change the permalink of a page in WordPress and improve your website’s SEO. Just be sure to choose a descriptive and SEO-friendly permalink that accurately reflects the content of your page or post.